People often ask me, what materials and tools do I use to create wool paintings. Besides the main material, wool, I also use a substrate, scissors, tweezers, and the frame with glass. I’ll go in depth on how I use each item in this article. Let’s start with a frame.
Frame
I use an ordinary photo frame, which can be found at any home or craft store, as well as purchased from a frame shop. The average frame consists of a backdrop, clear glass, and its overlapping edges.
I avoid frames with plexiglass covers. The first problem, wool can become statically electrified and stick to plexiglass, especially in new paintings when the wool has not yet had time to lie down. Second of all, depending on the quality, plexiglass might look cheap, thereby spoiling the impression of the painting. And finally, most plexiglass is easy to scratch. If you would like to buy a frame with plexiglass, especially relevant for large frames, I suggest to buy it in the professional frame store. They have high-quality plexiglass with a non-glare option.
I discovered, that sometimes it’s hard to frame the painting due to the thickness of the wool. In this case, a frame with double mat works great. It covers the painting nicely and gives it an amazing 3D effect. The only disadvantage is a lack of color options. I found only three colors (black, grey, and espresso) and only one company which make this type of frame.
There are many options for your choice in frame, but you must use one with a clear covering, since that protects the surface of the picture and holds the wool fibers securely in place. Read more about framing options for wool paintings.
Substrate
In order to keep the wool from slipping and so it sticks better to the backing, I use a substrate (also called an underlying base) when creating my paintings. Some people use flezilin, plain natural fabric, or rough paper. But, I prefer to use a simple, cloth paper towel for several reasons. First, it’s easy to find in a regular grocery store and fairly economical. Next, I can sketch my picture’s outline on the paper towel before laying down the wool. Finally, the wool fibers don’t shift out of place or roll down the picture’s surface, even when the artwork is stood vertically without its glass covering. Any of aforementioned materials can be glued to the backing of the frame to keep them from moving while create a painting. But, I prefer not to use glue, so that I have the opportunity to mount the painting in a different frame, if necessary. Read more about substrate materials.
Wool
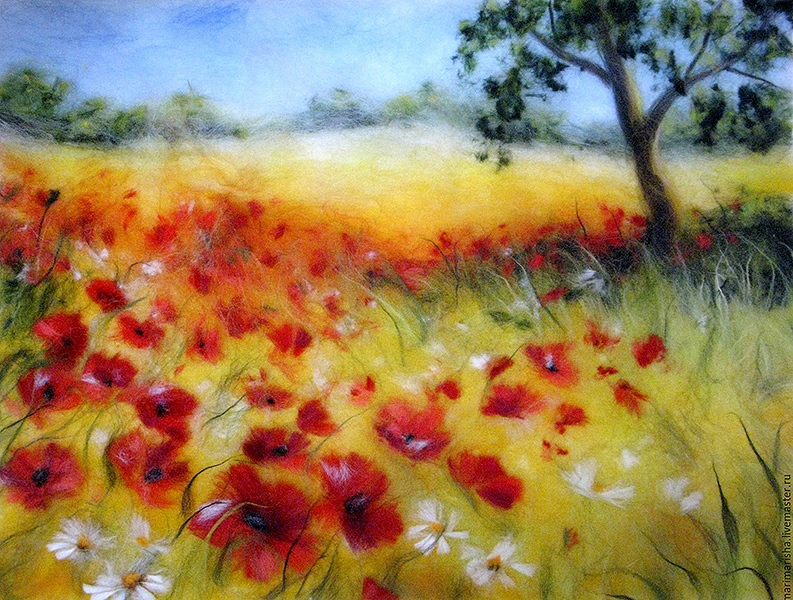
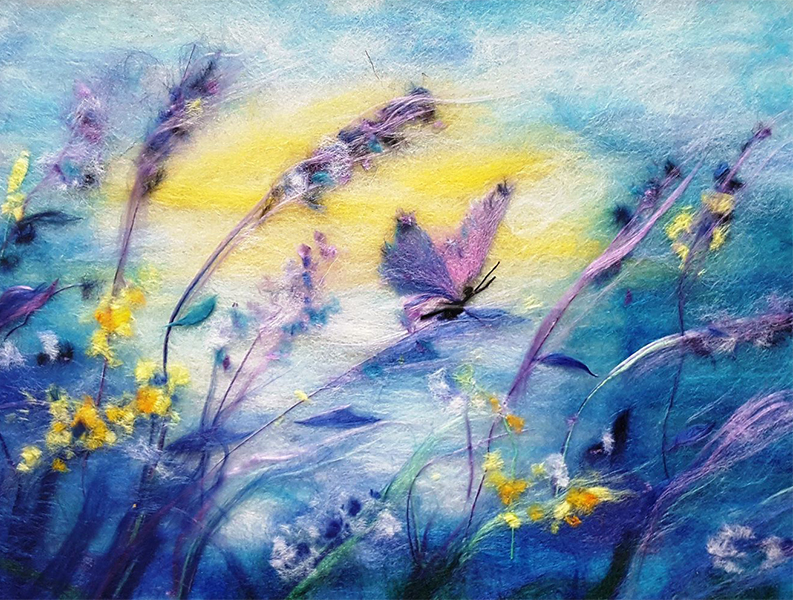
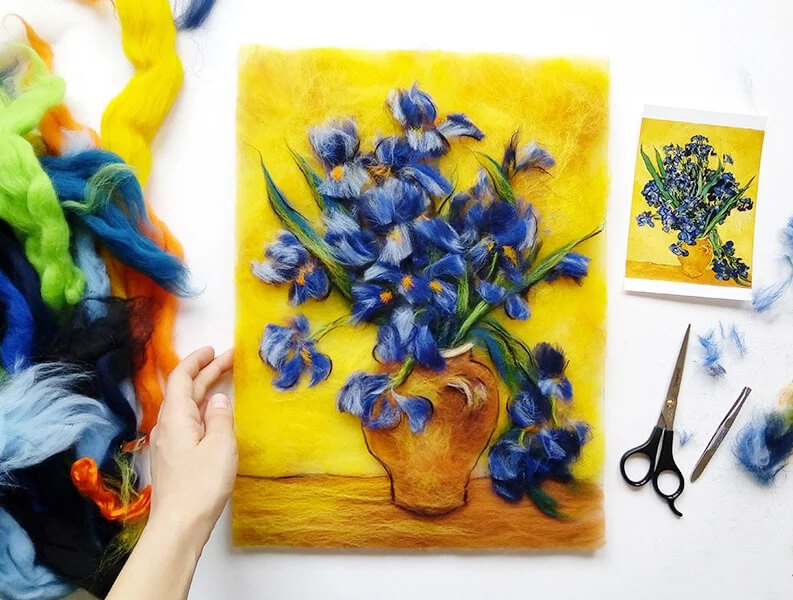
The primary material used in the paintings is wool roving, in the form of combed ribbon or carding. The combed ribbon (or tops) is combed wool in which all the fibers are stretched in one direction and laid in a ribbon. The carding wool is a product in which, unlike a combed ribbon, all of the fibers are bent and aimed in different directions. I try to have a wide variety of colors available, because the more shades I use, the more vivid and picturesque the wool painting becomes. Sometimes, to add a bit of shine to the picture, I will use fibers of silk or viscose. Viscose fibers are soft, smooth, straight, and have a strong shine to them, although they are less durable than fibers of natural silk. Visually, viscose and silk fibers do not differ much, so they are interchangeable. But, it can be difficult to work with viscose – it’s electrified, sticks to the glass and does not keep its shape. Because of this, viscose and silk are always mixed together with wool. Elements of a picture crafted from a combination of wool and viscose fibers, reflect the light and shine; giving the objects an animated and expressive appearance. Read more about types of wool.
Scissors
When creating a wool painting, scissors are used a lot: not just to cut the strands of wool, but also to move the wool around with their points, to act as a brush to smooth out the fibers to help lay them in place, and so on. When working directly with wool, I always use a good pair of sharp scissors. I experimented with many types of scissors before finding the ones that fit my hand the best and were the most comfortable to use. I also discovered that those with sharp points work better than those with rounded ends. I suggest using scissors with a comfortable rubber handle, which will prevent your fingers from slipping. When you first start making wool paintings, start with the scissors that you already own. Then, as you continue the craft, you will want to invest in a nice pair.
Tweezers
I use tweezers to layout the small details in the foreground of a painting, but other artists may just use their fingers. The way a person works is up to them and depends on their preference. There are several varieties of tweezers, but I prefer pointed tweezers slanted at the tip. The combination of both the slanted and pointed styles allow for more control and better grip when work with small pieces of wool. Other tweezer varieties like slant tip, flat-tip, and arched-claw will work also; you should experiment and pick your favorite style. When you buy tweezers, make sure they are smooth on the edges without any nicks or burrs. Otherwise, the imperfections will catch unwanted wool fibers on the painting, thereby might spoil it.